


Step 1
I first started the process by cutting 3 different types of paper (white paper, black paper and transparent paper) in the exact specified measurement of 20 x 28 cm with box cutters. When you finish cutting you would be left with:
18 white paper
12 black paper
15 transparent paper
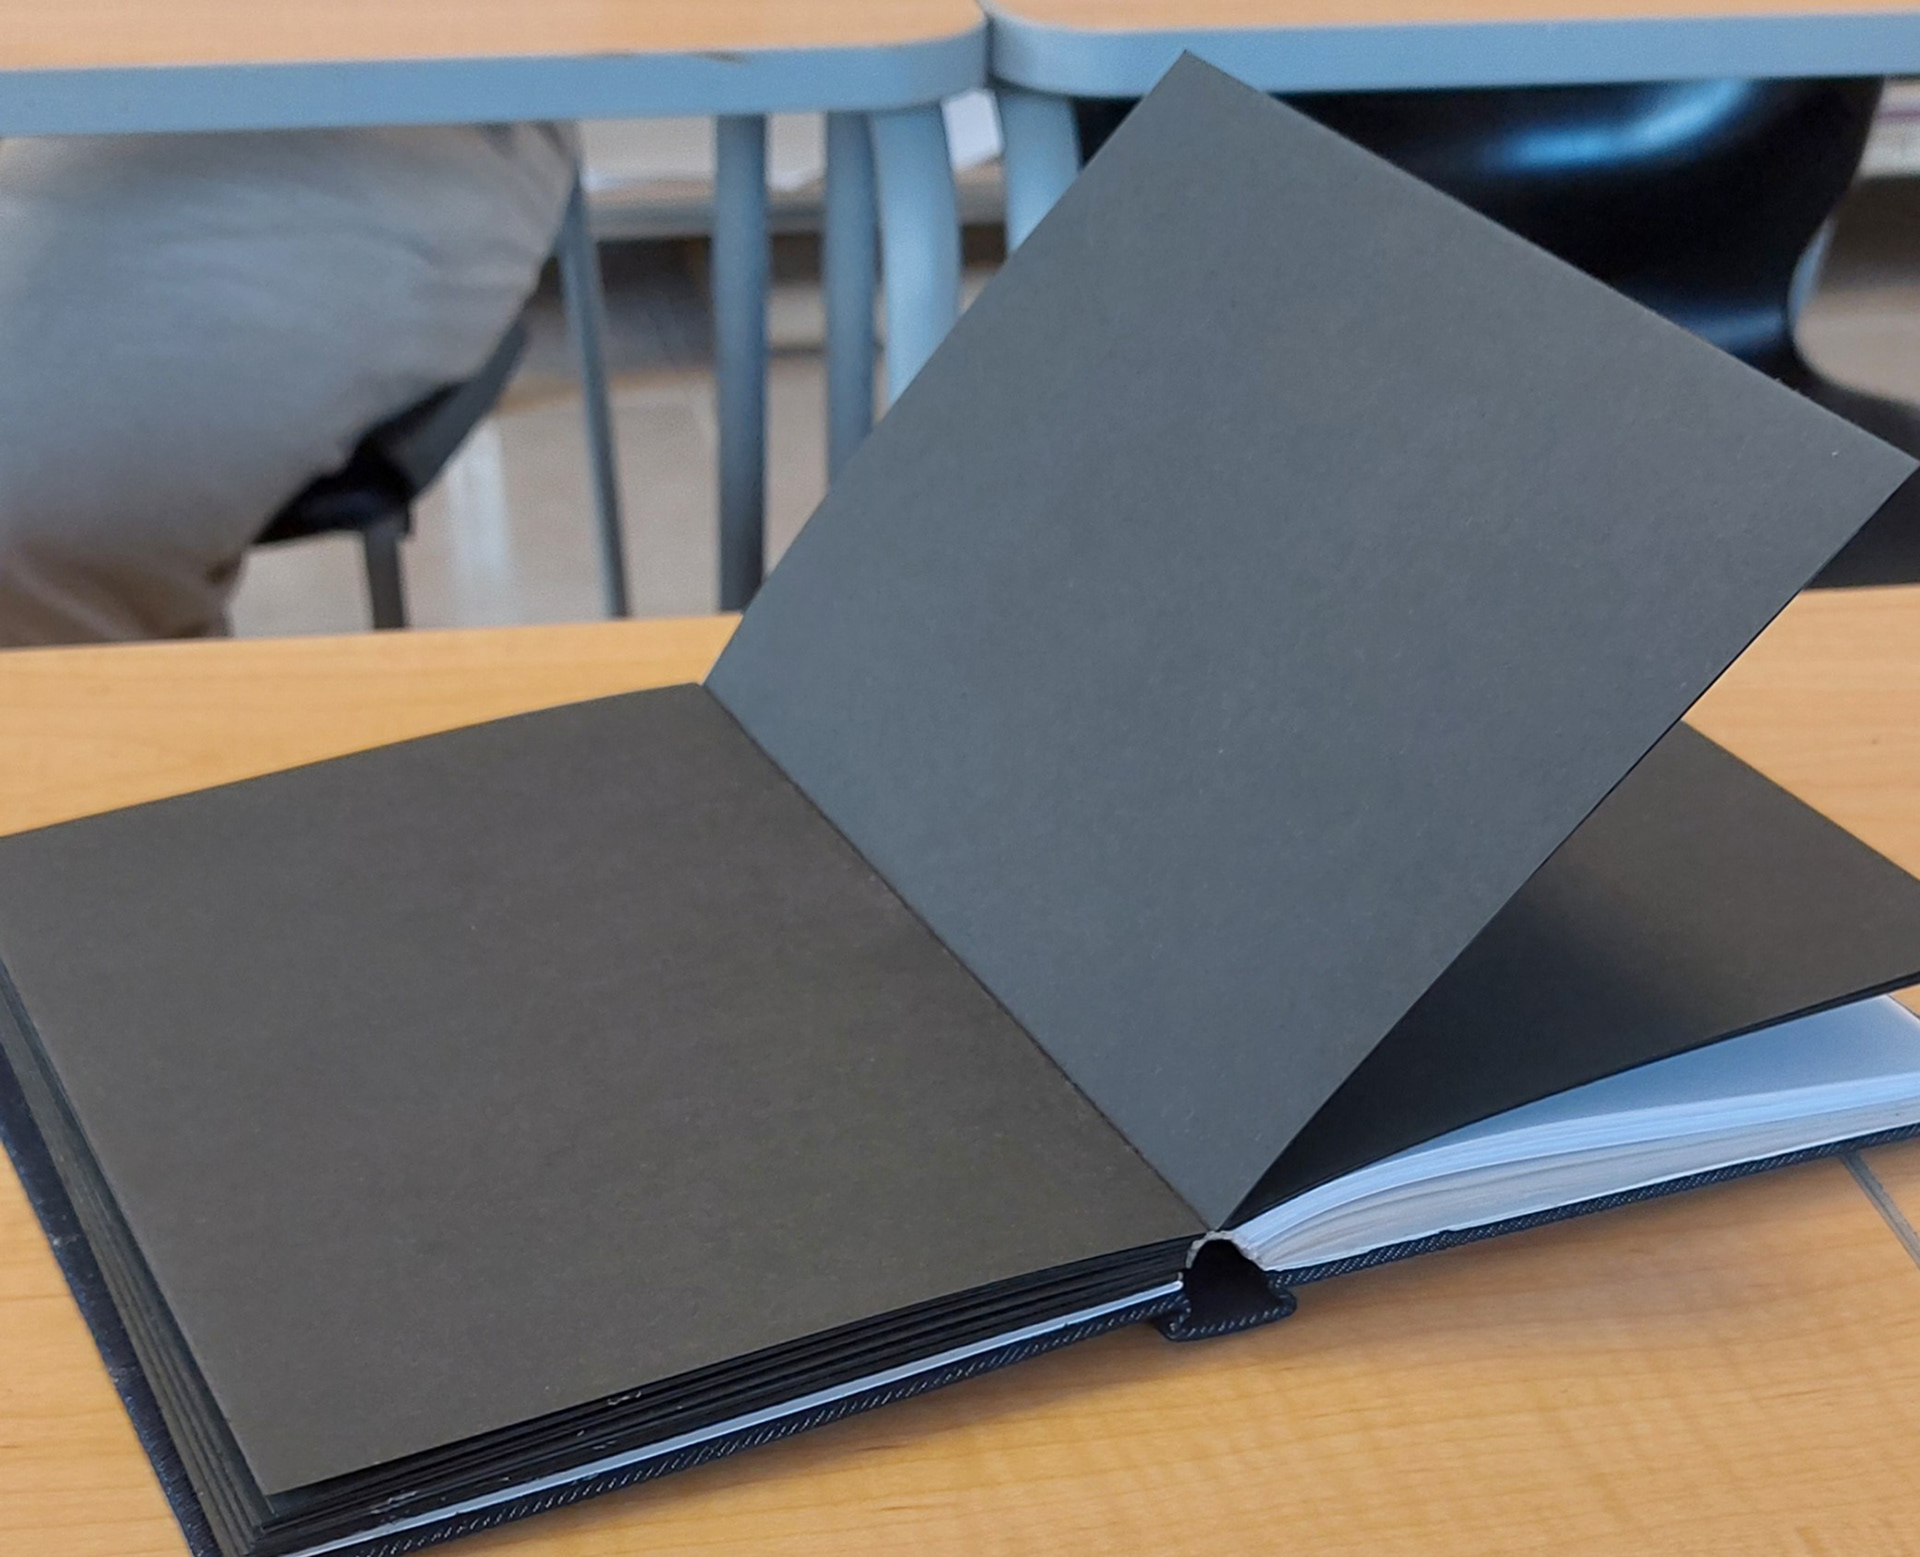
Each paper had different levels of difficulty, black paper being the easiest to work with since it was more sturdy than the other while on the other side of that the transparent paper was the most infuriating to work with because of how flimsy the material was, so you had to be very delicate when cutting. At first it was very difficult for me to cut and even measure correctly sometimes, thus some of my papers do not perfectly line up with each other, it was very frustrating having to cut these papers perfectly every time.
Step 2
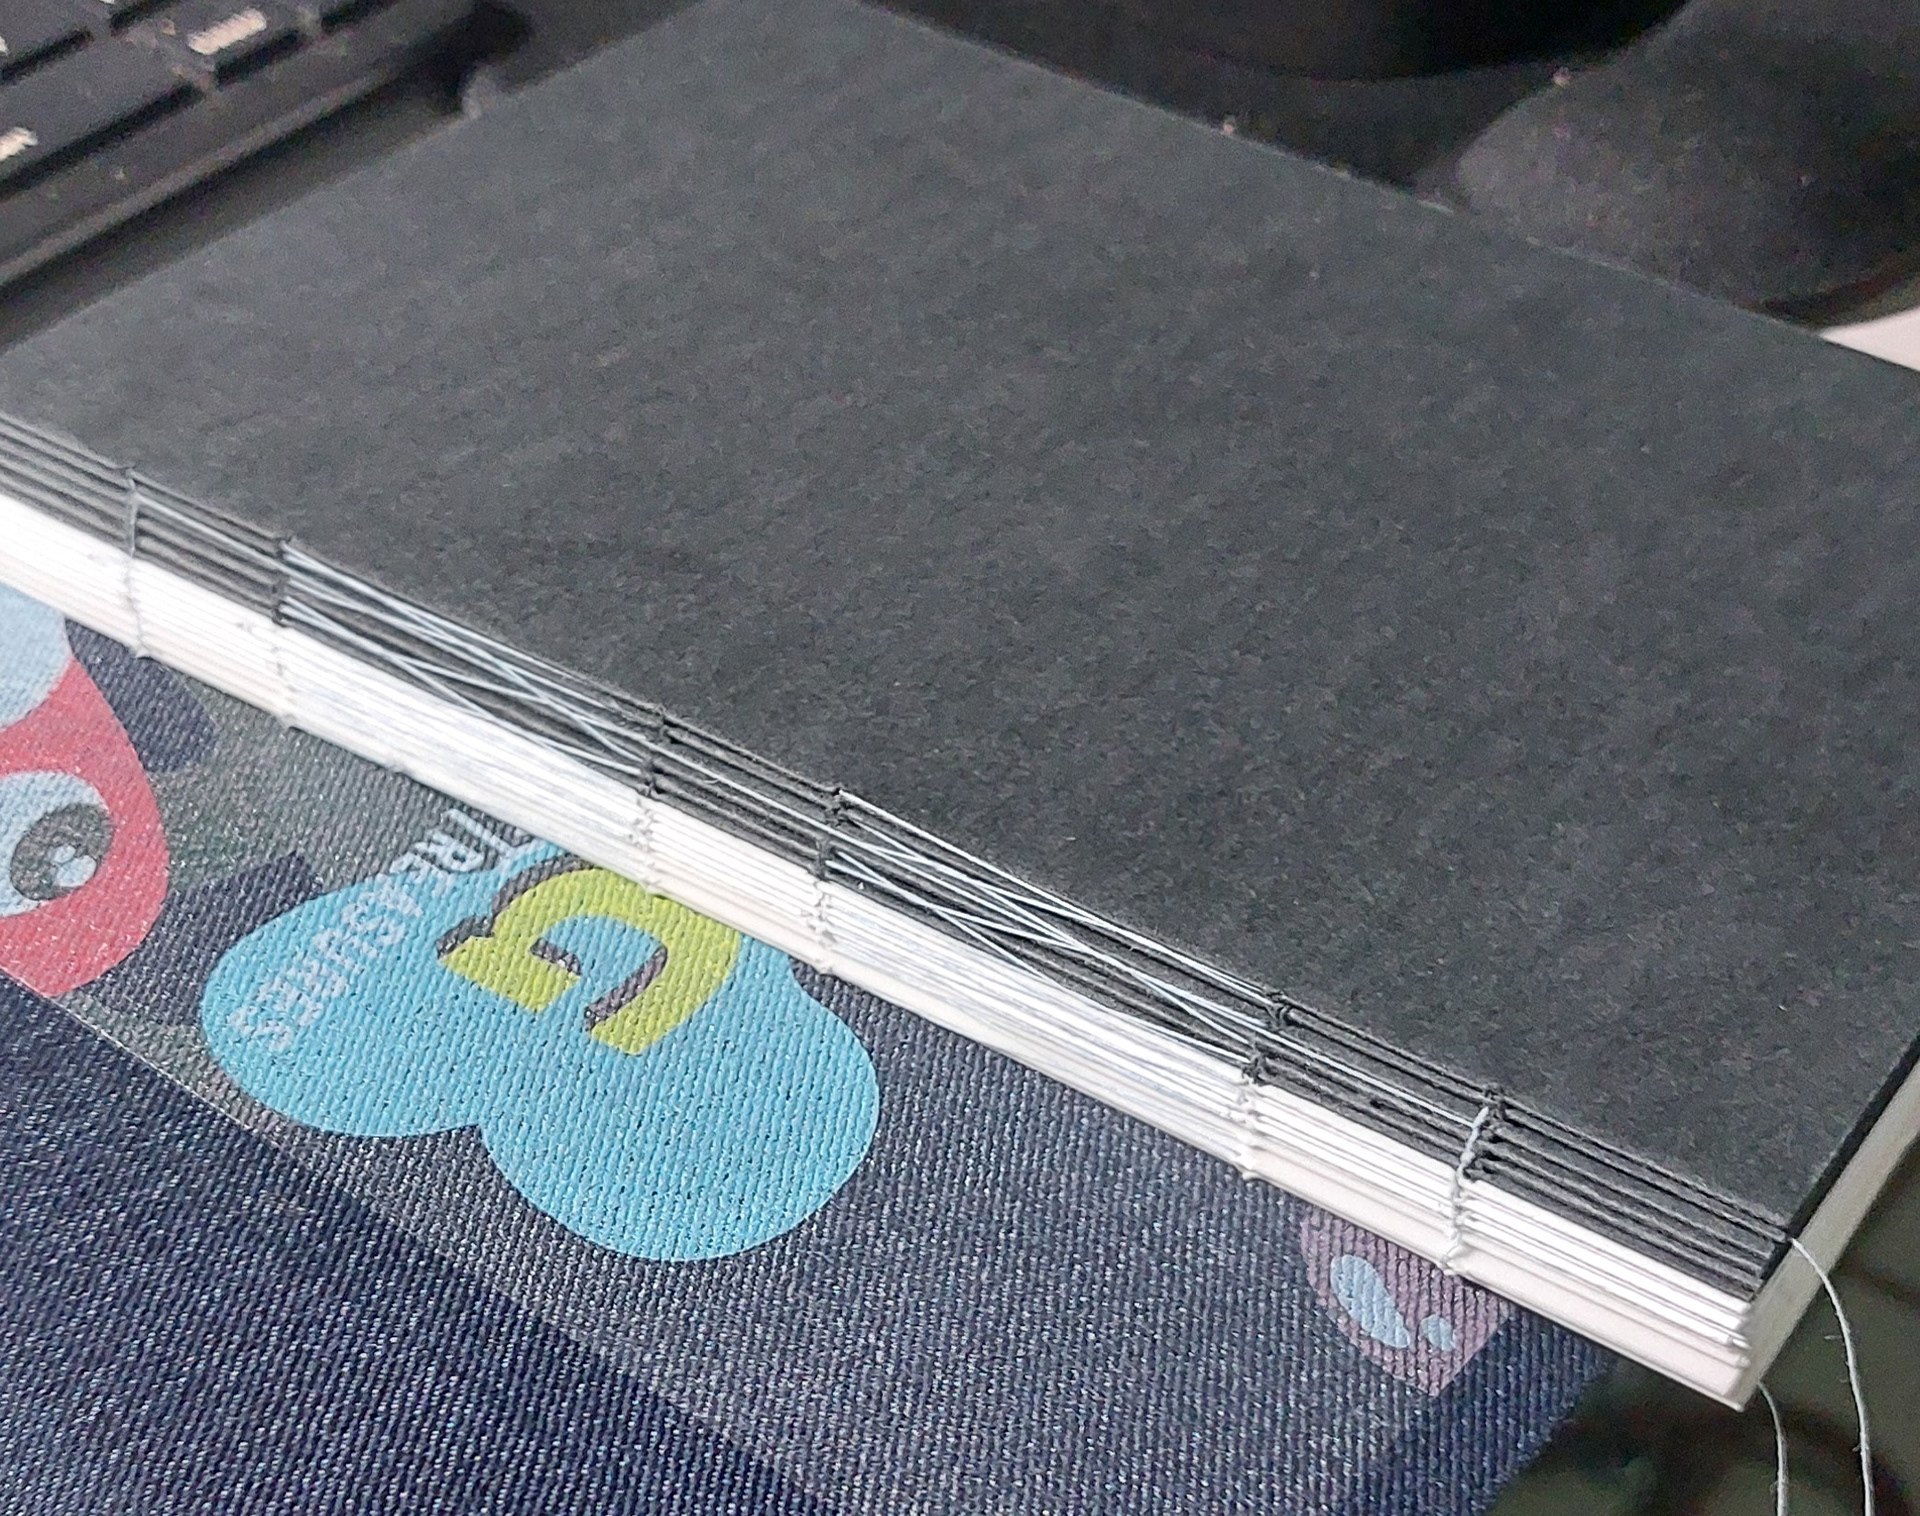
After I was done cutting the papers to the exact specifications I then had to fold right down the middle. After getting into the flow of things this step went pretty fast all things considered and after that we had to stack our folded papers of each types and layer them on top of each other separately, you we’re supposed to make 6 stack of 3 layered white paper, 6 stacks of 2 layered black paper and 3 stacks of 5 layered transparent paper. Then after doing that, you puncture 6 holes on the bent part of the papers for the string to enter that will end up binding the book together.
Step 3
This step was coming up with a cover for the book and I came up with dog treasures as in I am the dog and what’s inside is my treasure. I made a dog design in Adobe Illustrator and added two of them in the top left corner and one in the bottom right. I also threw in some more dog iconography such as bones and paw print to fill up the cover. I used a combination of yellow, red, turquoise, white and black for my colors to give a very vibrant and child-like feel to the book cover.
Step 4
Next thing I had to do was thread the string through all the holes that I had punctured previously with a needle. This was ....to say the least a headache as if you're not careful your string can easily get tangled which happened to me to the point where I had to restart over again. You also had to pay attention to how you threaded the string with the needle, which I had the most difficulty with.
Steps 5,6 & 7
We had to cut out the cover and spine of the book from cardboard so it could then be covered and glued on a fabric of your choosing but it can’t be too elastic nor too rigid. The process of pressing my design on the fabric went not ideal as I put the design on backwards which is something i would keep in mind for next time. The gluing of the cover went smoothly. Next thing was to strengthen the spine of the pages by sliding some hard paper between the stitching's of the pages and then use bookbinders glue to keep everything sturdy. The last step was to cut out two end sheets of matted paper, these will be what connects the hard cover to the actual pages by gluing them to the front and back of the inside of the cover and the first and last page of the book. After that I was done with my book :)
Finishing remarks
Overall this was a first time experience for me making a whole book from scratch, while the process was very infuriating and disheartening at times, specifically the cutting of the pages and the binding of the papers with string and a needle, I was satisfied with what I had made in the end. My main take away was that i am not proficient in this sort of thing, i was too slow and sloppy with my execution which i hope to rectify in the future.